

If you’re putting together a Microsoft Office document and receive textual content in the form of an image file, you might panic, especially if you’re staring down a fast-approaching deadline. This usually happens when there’s no electronic copy of the data — for example, a printed form.
Manually entering that data eats into your time and opens the document up to typos and other errors. The good news is that you don’t have to do this. Instead, you can use Microsoft Word to convert the image into text. The results won’t be perfect, but it will be better than working from scratch.
In this tutorial, I’ll show you how to convert an image file into text that you can then use in Word or copy into Microsoft Excel or Microsoft PowerPoint. Word for the web will let you copy an image into a Microsoft Word document and then download the file as a .pdf file, so you’ll still need the desktop version to complete the technique.
I’m using Microsoft 365 on a Windows 11 64-bit system, but you can use earlier versions of Word.
How to copy an image into Word
You can’t open an image file in Word, but you can copy it into a Word document. Let’s suppose that you took a screenshot of a web page at TechRepublic.com and saved it to your local system.
Note: If you’re working with an older version of Word and you can control the image format, save the image as a .png file. Doing so will eliminate many conversion issues in older versions of Word.
To copy that image into a Word document:
1. Use File Explorer to locate the image.
2. Select the image and press Ctrl + C to copy the image to the Clipboard. If the image is available online, in an email or PowerPoint presentation file, right-click it and choose Copy Image.
3. Open a blank Word document and press Ctrl + V to copy the image into the document, or right-click and select Paste (Figure A). With the image selected, you can clearly see that it’s an image and not text.
Figure A
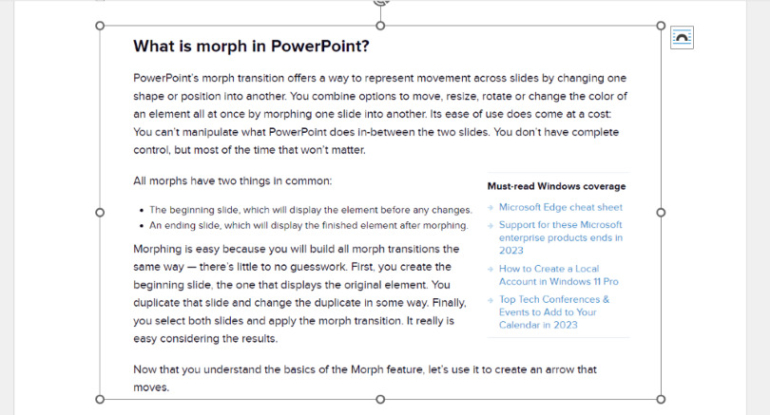
Once the image is inside Word, you’re ready to start converting it to text.
SEE: Here’s how to prevent images from moving around in a Microsoft Word document.
How to convert an image in Word
There’s no conversion feature or option in Word, but that isn’t a problem. By saving the .docx file as a .pdf file and then opening the .pdf file in Word, Word converts the image into text. To begin, save the Word file as a pdf file, as follows:
1. Save the Word file with the copied image by clicking the File tab, choosing Save As or Save a Copy (OneDrive).
2. Specify the location where you want to save the file.
3. Enter a name for the file — for example, ImageWordSaveAsPDF.
4. Choose PDF (*.pdf) from the Save dropdown (Figure B).
Figure B
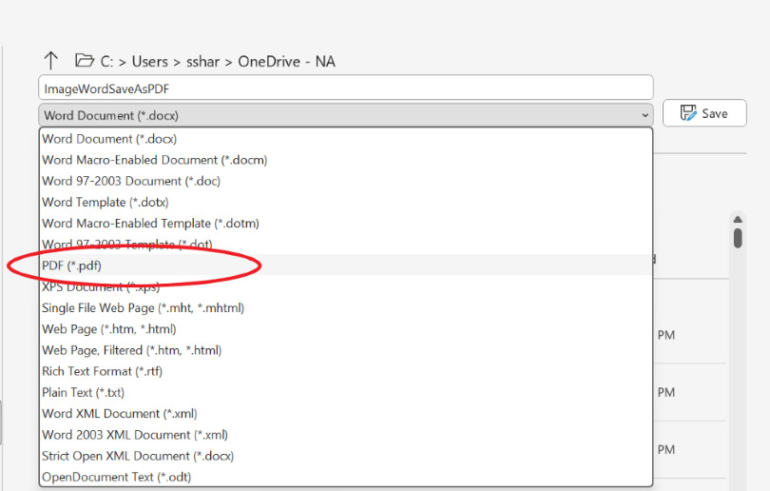
5. Click Save.
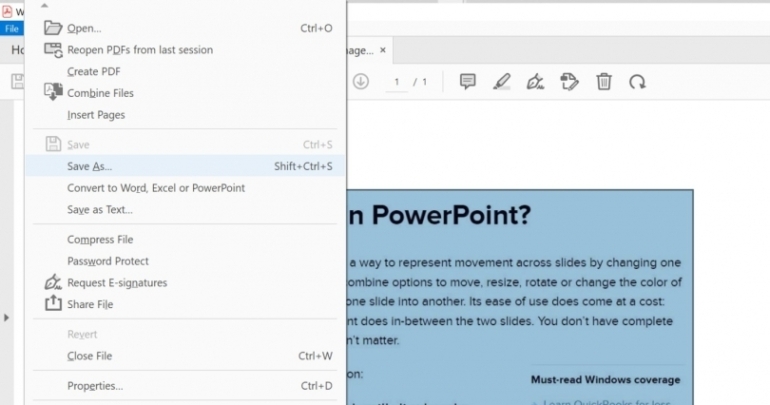
By default, your Adobe viewing app should open the new .pdf file. If necessary, save the new pdf file as follows:
1. Click the File menu.
2. Choose Save As, as shown in Figure C. You can change the name or not, but note the location of the saved .pdf.
Figure C
The next step is to return to Word and open the new pdf file as follows:
1. Open Word.
2. Click the File tab, and choose Open.
3. Locate the .pdf file, as shown in Figure D. As you can see, I used a search term to quickly find the file.
Figure D
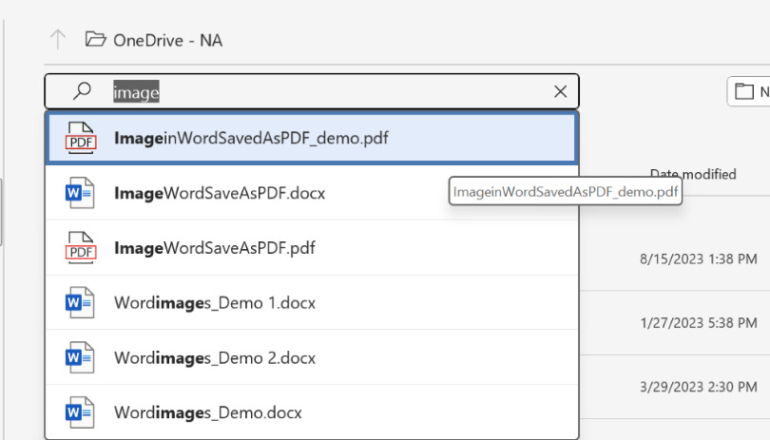
4. Click Open.
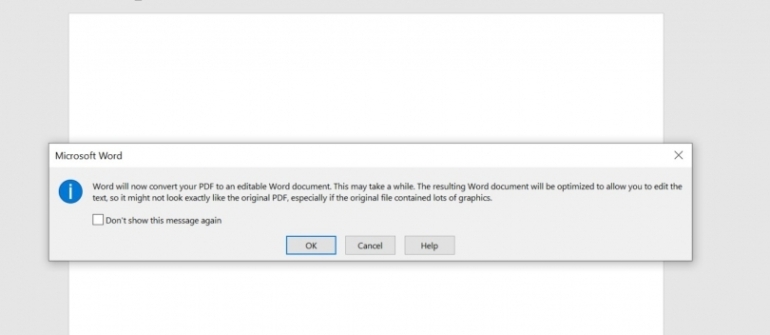
5. When Word prompts you to convert the file to text, as shown in Figure E, click OK.
Figure E
SEE: Learn how to change page orientation in the middle of a Microsoft Word document.
Tweaking the results
As you can see in Figure F, the converted image is now editable text. As I mentioned earlier, the results won’t always be perfect. You might lose formatting, and the file might contain text you don’t want to keep.
Figure F
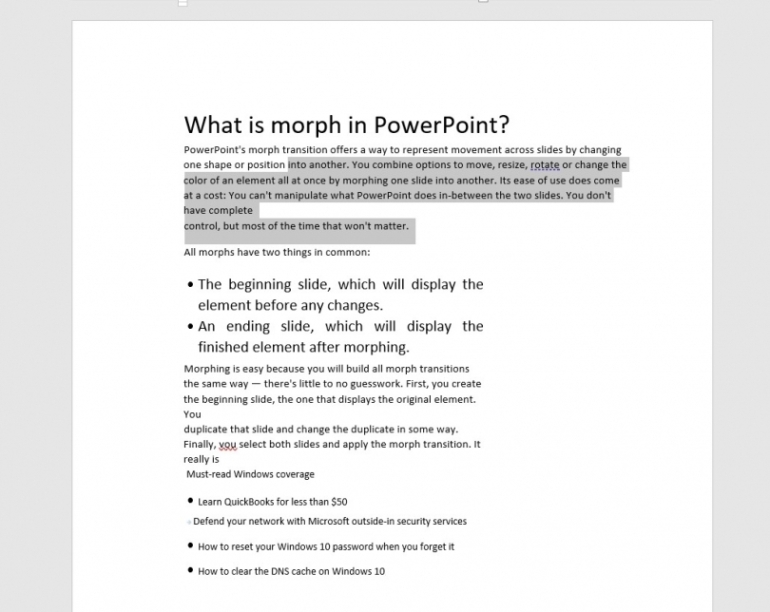
In the example file, you might want to do the following:
- Straighten up the right margin a bit by removing unnecessary hard returns.
- Apply the style Normal or some other style, so everything is the same.
- Run the Editor just in case. Interestingly, the conversion turned the y in the word “you” into a v.
- Delete the marketing text at the bottom. Remember, the original image file included links to other articles.
I think most would agree that tweaking the converted text is much easier than entering it manually from the keyboard. Once the text is in shape, you can save it as a Word document or copy the text to an Excel sheet or PowerPoint slide.

Subscribe to the Microsoft Weekly Newsletter
Be your company's Microsoft insider by reading these Windows and Office tips, tricks, and cheat sheets.
Delivered Mondays and Wednesdays