Word clouds can be used as images in PowerPoint presentations. If you’re an editor or business writer, you might create a word cloud to see which terms are overused or to make sure the focus isn’t overrun. You could even use them as an SEO tool. In this article, I’ll show you an add-in that produces word clouds in PowerPoint, though you can copy those images anywhere you like.
PowerPoint may not seem like the best first choice, especially considering the number of good word cloud generators available. But if you have PowerPoint, you might as well take advantage of it. Plus, Pro Word Cloud is easy to use. Unless you have specialized requirements, these two reasons are likely enough to use PowerPoint over other software.
I’m using Microsoft 365 on a Windows 11 64-bit system. You can work with your own file or download the demonstration .pptx file. This article assumes you have basic PowerPoint skills, but even a beginner should be able to follow along.
Jump to:
- How to install the Pro Word Cloud add-in
- How to create a word cloud
- Customizing your new word cloud with Pro Word Cloud
- A word about repetition
How to install the Pro Word Cloud add-in
As a rule, I don’t deviate from Microsoft 365’s built-in features, but add-ins from the Microsoft Store are an exception to that rule. In this case, the Pro Word Cloud add-in supplies quick results for a neat effect that would take much longer to replicate with built-in features, and I’m always an advocate for saving time.
You may already have this add-in, so check before bothering to install:
- Click the Home tab.
- To the far right, click Add-ins in the Add-ins group.
- In the resulting dropdown, look for Pro Word Cloud (Figure A).
Figure A
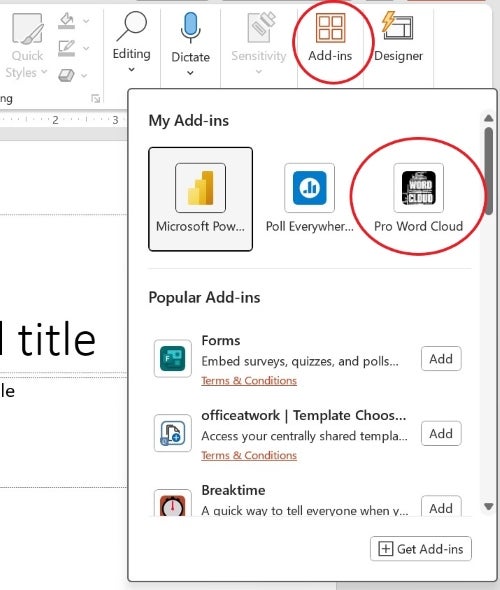
If you see Pro Word Cloud in the top row, it’s already installed, so you can skip this section. If you don’t have the add-in installed, then you’ll need to open PowerPoint and do the following:
- Click the Home tab.
- Click the Add-Ins option in the Add-ins group.
- Click Get Add-Ins in the bottom-right corner of the dropdown to open the Microsoft Store.
- In the Search tool (top-left), enter Pro Word Cloud (Figure B). It should be the first item in the resulting list.
Figure B
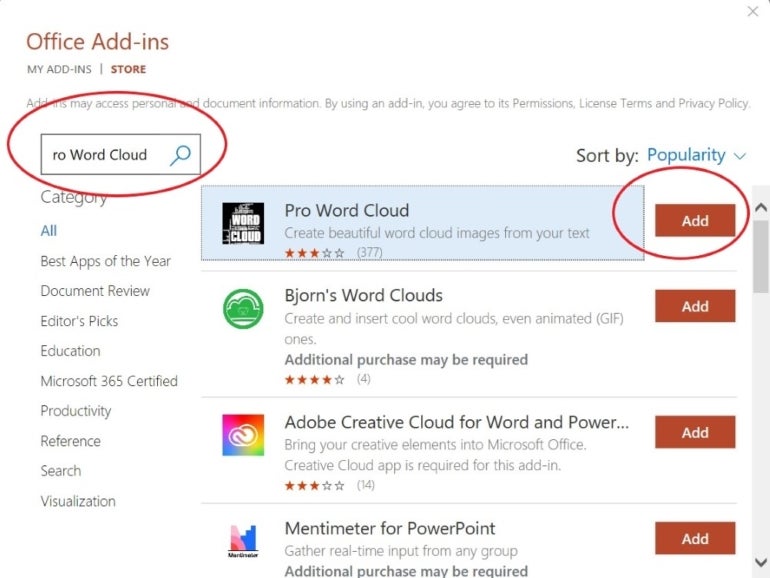
- Click Add.
- Click Continue, then allow a moment for your system to install the add-in.
About Pro Word Cloud
At this point, it’s worth noting that Pro Word Cloud is freeware, which means it doesn’t cost — although there are usually ways to support the creator. While Microsoft Store products are considered safe, it’s worth noting that freeware can include bloatware and even more malicious files. To be safe, only download freeware from trusted sources and monitor your computer’s performance for any issues after installing.
Pro Word Cloud works by sending data over the internet. While many users won’t be concerned by that, this product may not be the right solution for users who work within industries that have strict data privacy and governance standards.
How to create a word cloud
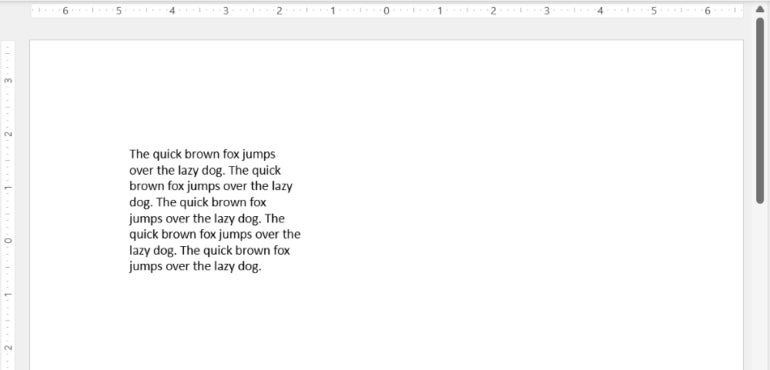
After installing the Pro Word Cloud add-in, you can use it right away. First, enter text — as many or as few words as you need. The more words, the larger and more interesting the cloud will be. We’ll use the short paragraph shown in Figure C.
Figure C
To generate the text, do the following:
- Insert a text box.
- Inside the text box, enter =RAND() and click Enter to produce the miscellaneous text shown earlier in Figure C. If you get more than one paragraph, you can delete all but one or leave them all.
Once you have text to work with, do the following to create the word cloud:
- Select the source text.
- Click the Home tab.
- In the Add-ins group, click Add-ins.
- In the resulting dropdown, click Pro Word Cloud in the top row to display the add-in tools (Figure D).
Figure D
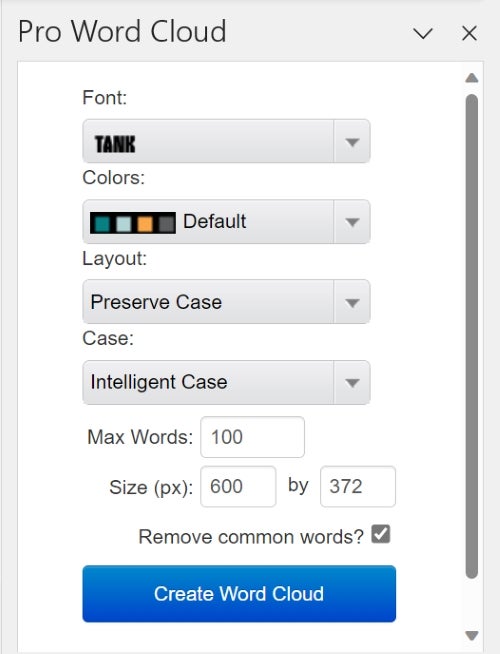
- Click Create Word Cloud, accepting the default settings to produce a quick word cloud (Figure E).
Figure E
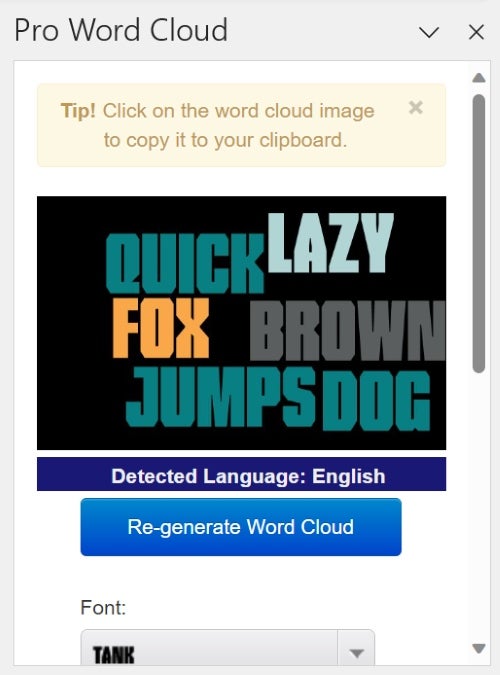
- Click the resulting word cloud in the dropdown to copy it to the Clipboard. Then, press Ctrl + V to paste it into the slide (Figure F). Drag and drop to position and resize if necessary, or drag it right from the pane.
Figure F
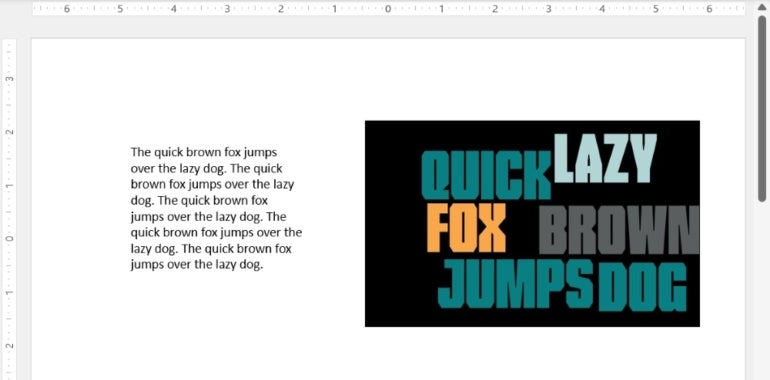
Don’t worry if yours doesn’t look like the one shown in Figure F — that’s the nature of the product.
Customizing your new word cloud with Pro Word Cloud
The default word cloud may or may not be suitable for you. Fortunately, the Pro Word Cloud allows you to customize the cloud quite a bit before you generate it. You can’t do much to an existing word cloud — like the one in Figure F — other than apply a few PowerPoint formats, such as a shadow, glow, reflection and so on; the results may be iffy.
The easiest way to get a different word cloud is to click Re-generate Word Cloud, as shown above in Figure E, before inserting the results into a slide. Doing so will randomly adjust the different properties. Clicking a few times may produce one you like.
If you still want more control, use the add-in tools: Font, Colors, Layout and Case. You can also restrict the number of words, specify the size of the word cloud and include common words, such as and, if, or, the and so on. These are self-explanatory, and the best way to learn about them is to explore them when you have time.
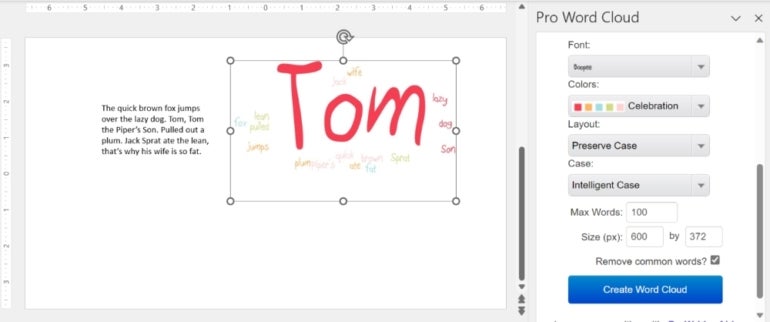
Figure G shows the results of the settings to the right. Your settings should, when possible, reflect the word cloud’s theme. It won’t always matter, but be in tune with your message and the results. Our second word cloud does reflect a bit more merriment than the default word cloud’s settings.
Figure G
A word about repetition
There’s one last thing to consider: Did you notice in the first example, that even though the sentence repeats several times, the word cloud displays each word only once? Also, did you notice that the word Tom is bigger than the others in the second?
There are two things in play: The second cloud uses different settings, and its text is different from the first cloud’s text.
In general, the more often a word occurs, the larger it will appear — rather than being repeated. However, if all the words are repeated, such as in the first example, all the words end up large. The repeated words are the largest, and you might have to force that by altering the source text. Surprises are a big part of the word cloud adventure.
Used in a business application, this behavior can help you sort out keyword imbalances. Spend some time exploring, and although you’ll find limitations, there’s a good chance you’ll produce something you like.

Subscribe to the Microsoft Weekly Newsletter
Be your company's Microsoft insider by reading these Windows and Office tips, tricks, and cheat sheets.
Delivered Mondays and Wednesdays